3 - A Basic Aseprite Animation
This article was supported by Patreon! If you like what I’m doing here, please consider supporting me there :) Also, this is the part 3 of a series of articles, read the whole series here.
What is an animation?
The timeline
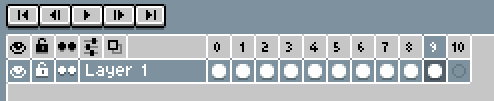
The fist thing we need to understand is the timeline. It’s a way to represent multiple images in a single file. Each column is a complete image and has a number assigned to it, we call it a frame.
A very simple animation
There are many techniques on how to animate, the order you should draw the frames and how to optimize everything, but for now I’ll try to explain the simplest technique I know: a straight-ahead animation of a bouncing ball.
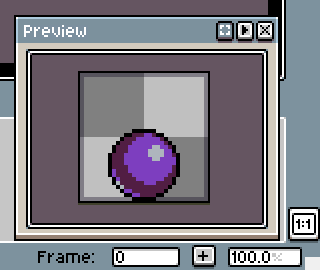
“Straight-ahead” means we’ll draw one frame directly after the other, as opposed to drawing all the important poses of the animation first and then the middle ones. Start with a 32x32 file with a palette of your choosing.


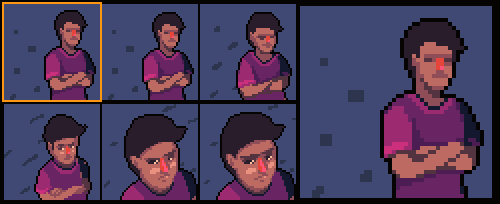
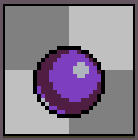
The first frame for this animation I like to call the “Still”. It serves both as a concept art, to define the style of your animation, and as the resting position of this sequence.
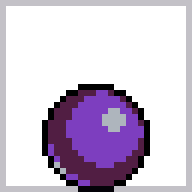
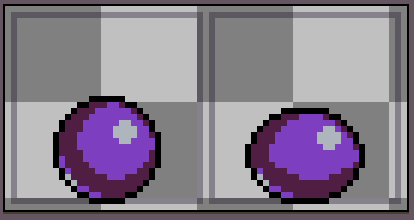
You need to pay attention to the amount of details you’ll be adding to this frame, because the next ones will be following the same style. After this is done we can duplicate this frame (ALT+N) and just move it upwards 4 pixels. Like this:

Timing
While cleverly using timing is a complex subject and could even have a whole tutorial dedicated to it, I’ll focus now on the simple technical aspect of it and let you experiment for now.
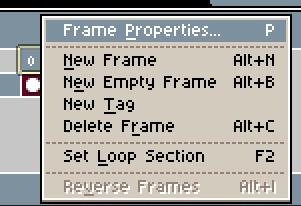
To increase the duration of a frame, right click on a frame’s number and choose Frame properties. Then you can type how long you want the frame to last. Let’s try 300 milliseconds for this.
Remember you can also select multiple frames to change their duration at the same time. This can be especially useful to speed up or slow down a whole animation at once.
Squash and Stretch
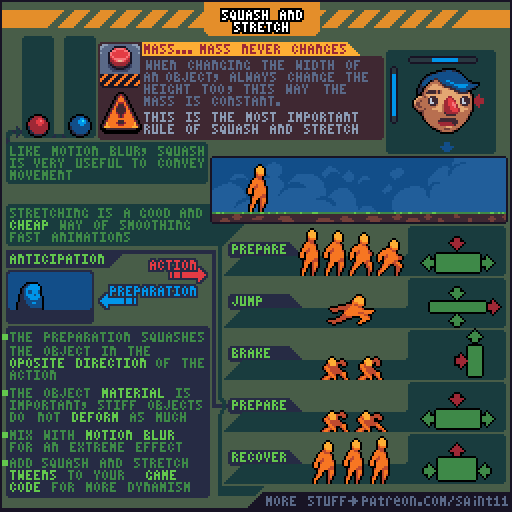
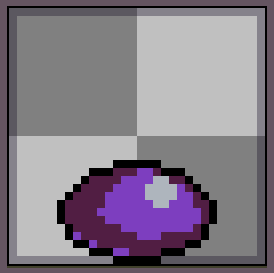
Let’s duplicate the first frame and squash it horizontally while flattening it a little vertically, so we can keep the total volume. Keeping the volume is very important so your object doesn’t look like it got smaller or bigger. Of course that’s a rule we learn to break as we get more experienced, but for now let’s stick to it. This is also called an “anticipation frame” and it’s mostly used to make the movement happening on the next frames look more intense.
Now let’s duplicate and change the frame right when the ball hits the ground in a similar way, maybe making it even more exaggerated.
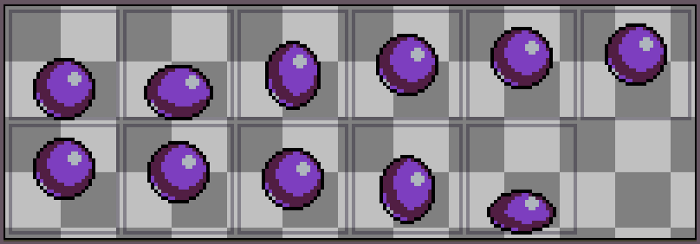
The last thing is to stretch vertically (always flattening horizontally) the first frame of the jump and the last frame of the fall, when the ball is at their fastest. And we are done! Let’s see our result:
Saving the animation
While saving the file in the .aseprite format will preserve the animation, you will probably want to export your animation to post it online or to use it in your game. Online, the easiest way is to save your image as .gif, using the File>Export… command. Just check the Export for twitter if you want to change the last frame’s duration to 1/4 of the duration so it loops perfectly even after Twitter converts it to MP4. When exporting for games you will usually want to save as .png, as usual, but the animation will have to be broken down in a sprite sheet or image sequence. To save it as an image sequence, simply export the file to .png format with a number in the end of the file name, like “bounce00.png” for example. This will create multiple files, like “bounce01.png”, “bounce02.png” and so on. Some game engines will need the file in the sprite sheet format. You don’t need to do that manually, just check File>Export Sprite Sheet and play around with the settings, you can change a lot of parameters there.
Now what?
Next, I would recommend experimenting more with the timeline and to try making other animation tests. You can look on my tutorial gallery and select a tutorial of your interest and try to mimic it.
Another idea is to try the classic beginner’s exercise of making an animated flour sack walking and jumping around. Just keep the resolution and color count low for now, so things don’t get overcomplicated.
For further reference you should also check the Animator Survival Kit, probably one of the best books on animation ever made. Keep reading the part 4 here!